13 Backyard Pumpkin Patch Ideas for Fall

Creating a pumpkin patch in your backyard can add delightful autumn charm. Consider essential factors like location, soil quality, and pumpkin varieties to ensure a successful and visually appealing patch.
With creative design ideas and family involvement, your pumpkin patch can become a seasonal highlight. Explore strategies to transform your outdoor space into a vibrant pumpkin haven this fall.
Choose the Right Location

Choosing the right location for your pumpkin patch is essential for success. Look for a sunny spot that gets at least six hours of sunlight daily; pumpkins thrive in bright conditions.
Ensure good drainage by selecting gently sloping or elevated ground to prevent water logging after rain. The soil should be rich and loamy—use compost if available.
Accessibility is also important; you should be able to move easily through the patch for weeding, watering, and enjoyment.
Lastly, consider proximity to your favorite coffee spot for motivation.
With the right location, you're on your way to a thriving pumpkin patch that will impress friends and family!
Select Varieties of Pumpkins

Once you've chosen a spot for your pumpkin patch, it's time to select your varieties.
The classic Orange Pumpkin is perfect for carving and embodies Halloween charm. For a modern touch, consider the striking White Pumpkin, which looks great on porches.
If you prefer smaller options, the sweet Sugar Pumpkin is ideal for pies, while the Mini Pumpkin works well for decorations or for kids to carve.
To impress neighbors, the Giant Pumpkin variety can weigh hundreds of pounds, so ensure you have adequate space.
With these diverse choices, you can create a vibrant patch that showcases your style. Get ready to grow a pumpkin patch that will be the talk of the town!
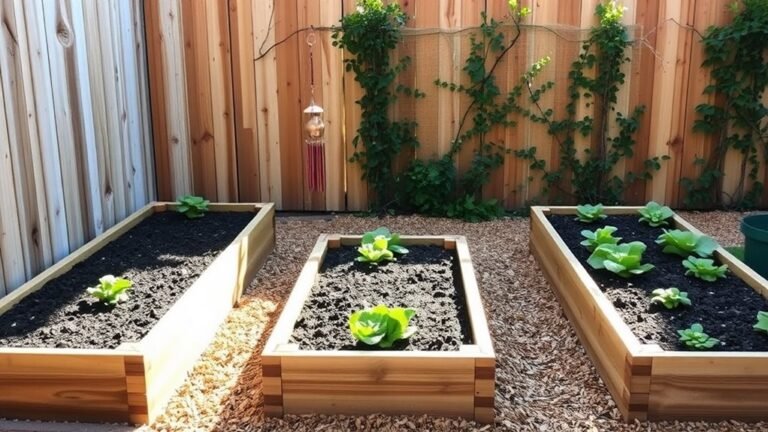
Build Raised Garden Beds

Building raised garden beds can significantly enhance your pumpkin patch experience, offering practical benefits that simplify pumpkin growing. They provide better drainage, preventing soggy soil, and warm up faster in spring, giving seeds an earlier start.
Select a sunny location for your bed and use materials like wood, bricks, or recycled items. Ensure the bed is at least 12 inches deep for pumpkins to spread their roots. Fill it with nutrient-rich soil for optimal growth.
Additionally, raised beds make weeding and harvesting easier on your back, allowing you to stand tall and admire your pumpkins as they grow, adding to your gardening pride.
Use Companion Planting

Creating a successful pumpkin patch goes beyond proper bed construction; strategic companion planting is essential. This method can boost pumpkin health and deter pests, providing effective support.
Consider these three companions:
- Corn: Tall corn offers shade for spreading pumpkins and stabilizes the soil, promoting healthy growth.
- Marigolds: These vibrant flowers repel harmful insects while adding color to your patch, protecting your pumpkins.
- Basil: This flavorful herb not only enhances pumpkin growth but also confuses pests, making it harder for them to reach your fruits.
Create a Themed Patch

If you want your pumpkin patch to stand out this fall, consider creating a themed patch that reflects your personality or interests.
It's about showcasing your creativity with more than just pumpkins! Think about what you love—perhaps a favorite movie, book, or hobby.
For example, if you love Halloween, decorate your patch with spooky elements like skeletons, cobwebs, and ghostly lights.
If the outdoors is your passion, use rustic touches like hay bales, pinecones, and wildflowers. A fairy-tale theme with whimsical characters and enchanting colors is another fun option.
Have fun with it! Invite friends or family to help, or turn it into a friendly competition for the most creative idea.
Don't forget to take photos of your themed patch; you'll want to capture those moments.
Incorporate Vertical Gardening

While pumpkin patches are often associated with large plots of land, incorporating vertical gardening can enhance your space and create a unique fall display.
Utilize walls, fences, or old pallets to grow pumpkins and decorative gourds for a creative and tidy patch!
Here are three ideas to get you started:
- Pallet Planters: Position a wooden pallet on its side, fill the slats with soil, and plant small pumpkins or gourds for a rustic art piece.
- Hanging Planters: Grow mini pumpkins in hanging baskets suspended from hooks or tree branches for a whimsical touch.
- Trellises and Arbors: Train pumpkin vines to climb a trellis or arbor to save ground space and add a charming visual element to your garden.
Add Decorative Elements

To make your pumpkin patch stand out, add decorative elements that enhance its charm. Scatter colorful gourds and mini pumpkins for vibrant pops of color and a whimsical vibe. A cheeky scarecrow dressed in old clothes can serve as a delightful focal point.
As the sun sets, string lights or lanterns will create a cozy glow, perfect for evening gatherings. Incorporate hay bales for rustic seating.
For a crafty touch, make DIY decorations like painted pumpkins or paper bats hanging from trees to capture the essence of fall.
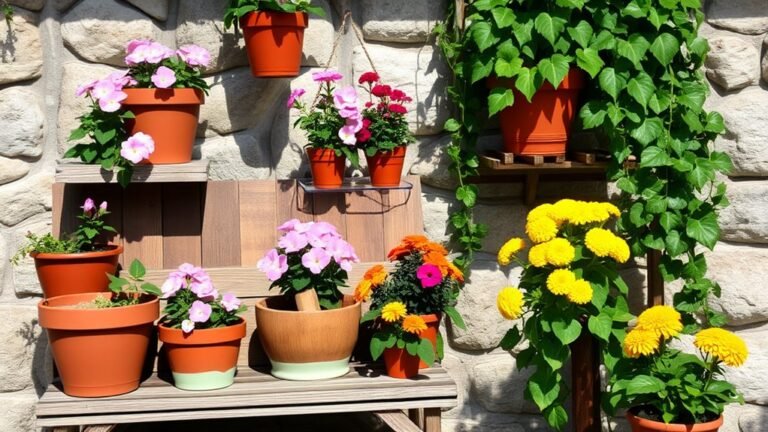
Utilize Container Gardening

Incorporating container gardening into your pumpkin patch adds versatility and flair, especially if you're short on space or want to create a unique aesthetic.
Plus, you can easily move the containers to optimize sunlight exposure.
Here are three fun ideas:
- Colorful Pots: Use vibrant, mismatched pots in bright colors like orange, purple, and yellow to capture the fall spirit.
- Hanging Baskets: Grow mini pumpkins in hanging baskets to save space and create a whimsical look as they dangle from your porch or garden hooks.
- Repurposed Containers: Get creative with old wooden crates, tin buckets, or wheelbarrows for charming and eco-friendly pumpkin displays.
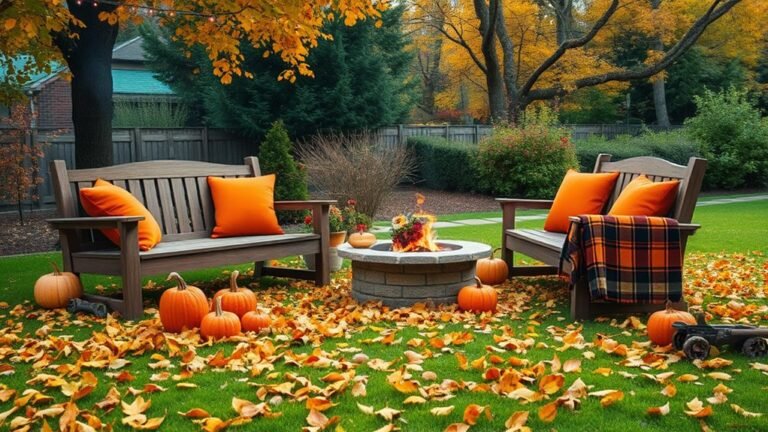
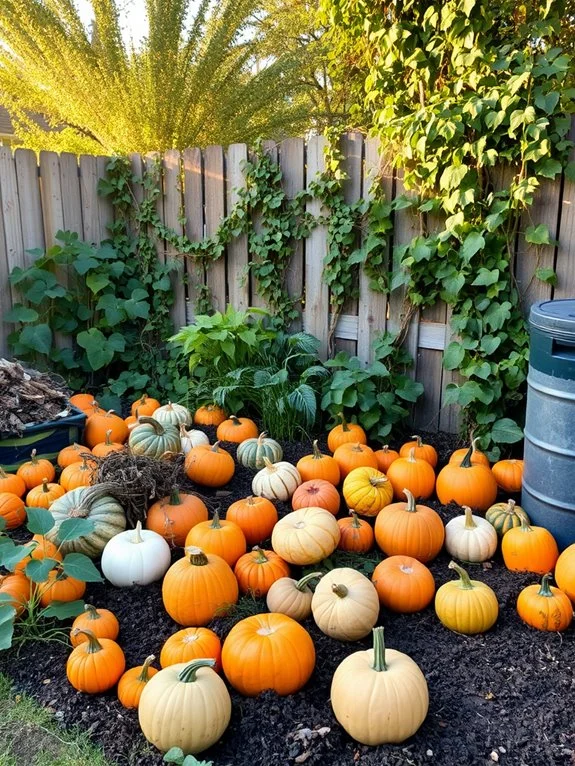
Plan for Seasonal Decor

As you cultivate your pumpkin patch this fall, seasonal decor can transform your outdoor space into a festive haven. Choose pumpkins of various shapes and sizes to stack on your porch or use as a centerpiece on your outdoor table.
Incorporate nature with gourds, corn stalks, and dried leaves for a rustic vibe. Consider painting some pumpkins in fun colors and patterns for added flair.
Lighting is important; string lights can create a warm atmosphere after sunset. Lanterns or candles can provide a cozy touch.
Don't forget a festive welcome sign with a cheerful pumpkin pun to greet your guests. Remember, seasonal decor is about expressing your style and having fun, so let your creativity shine and make your backyard a delightful autumn escape!
Involve the Family

Get the whole family involved in creating your backyard pumpkin patch for a fun and memorable experience! Imagine the laughter as kids race to find the biggest pumpkin while you enjoy hot apple cider and cheer them on.
Here are three engaging ways to involve everyone:
- Pumpkin Planting Party: Host a planting day where each family member picks their pumpkin seeds and gets their hands dirty. Kids will giggle as they plant their "special" seeds in mini plots.
- Creative Craft Time: Once your pumpkins start growing, gather for a crafting session to paint, carve, or decorate them. Unleash creativity—who knows, you might end up with a superhero pumpkin!
- Harvest Festival: When it's harvest time, throw a mini festival with games and pumpkin-themed snacks to celebrate your efforts together. Your backyard will be the talk of the neighborhood!
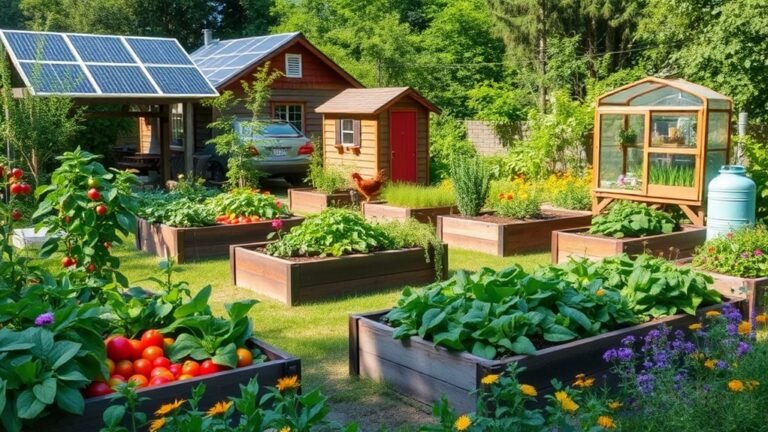
Implement Eco-Friendly Practices
Creating a backyard pumpkin patch is rewarding when you incorporate eco-friendly practices. You'll produce vibrant pumpkins while promoting a healthier planet. Start with organic seeds and natural fertilizers to nourish your plants and the Earth!
Here's a quick guide for implementing eco-friendly practices in your pumpkin patch:
| Practice | Benefits | How to Implement |
|---|---|---|
| Composting | Reduces waste, enriches soil | Set up a compost bin with kitchen scraps and yard waste. |
| Rainwater Harvesting | Conserves water | Use barrels to collect rainwater for your patch. |
| Crop Rotation | Prevents soil depletion | Change planting locations annually. |
| Mulching | Retains moisture, suppresses weeds | Apply straw or leaves around your plants. |
| Organic Pest Control | Avoids harmful chemicals | Use natural remedies like neem oil or insecticidal soap. |
Host a Pumpkin Carving Party
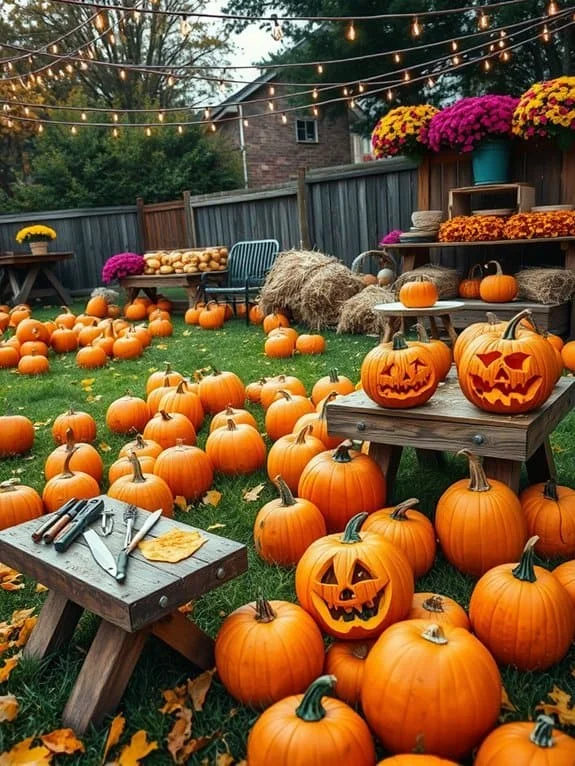
After nurturing your eco-friendly pumpkin patch, it's time to celebrate with a pumpkin carving party! Invite friends and family to unleash their creativity in a fun-filled afternoon. Decorate your outdoor space festively and prepare for some friendly competition!
Here are three essentials for your pumpkin carving party:
- Carving Tools: Gather carving kits with knives, scoops, and stencils to ensure safety and ease while everyone expresses their artistic flair.
- Snacks and Drinks: Keep spirits high with seasonal treats like apple cider, pumpkin spice muffins, and Halloween-themed candies.
- Pumpkin Display Area: Set up a display for everyone's unique designs. Use string lights or hay bales to create an impressive pumpkin gallery!
As you carve and share stories, you'll celebrate your pumpkins and create lasting memories beyond Halloween!
Document Your Growth Journey

Documenting your growth journey while tending to your pumpkin patch can enhance your experience. Even if you're not a professional gardener, capturing the progress of your pumpkins creates a delightful story. Use a notebook or your phone to record key moments, such as when you planted the seeds and the first tiny green sprouts.
Taking weekly photos is also a great idea! Watching your pumpkins transform from seeds to giant gourds is magical. Have fun staging some creative photos—perhaps wearing a goofy pumpkin-themed hat or posing with your pets!
Don't forget to share your journey with friends and family. You'll inspire others to start their own patches and foster a cheerful gardening community.
Everyone loves seeing updates on your pumpkins, after all! So, let your creativity flow and cherish each moment of this growing adventure—it's about the memories you cultivate along the way!
Frequently Asked Questions
When Is the Best Time to Plant Pumpkins in My Area?
The best time to plant pumpkins depends on your local climate, but generally, you'll want to get those seeds in the ground about 2 weeks after the last frost.
That's usually late spring, so keep an eye on that weather! You're aiming for warm soil, around 70°F.
If you plant too early, you might end up with some very unhappy seeds!
How Much Sunlight Do Pumpkin Plants Need Daily?
Imagine your pumpkin plants basking in the sun like sunbathers on a warm beach! They need at least six to eight hours of sunlight daily to thrive and grow those amazing pumpkins.
Too little sun, and they might sulk like a kid missing recess. So, pick a sunny spot in your yard, and watch them flourish!
With a little love and light, you'll have pumpkins that'll make everyone green with envy. Happy planting!
What Pests Should I Watch Out for in My Pumpkin Patch?
When you're growing pumpkins, you've gotta keep an eye out for pesky pests!
Watch for aphids, which love to munch on those tender leaves, and squash bugs that can really wreak havoc.
Don't forget about cucumber beetles, either—they're sneaky little critters!
If you spot any, act fast with some insecticidal soap or homemade remedies.
Keeping your patch pest-free means you'll enjoy a bountiful harvest.
Happy gardening, and may the pumpkins be ever in your favor!
How Can I Preserve Pumpkins After Harvesting?
You've just harvested your pumpkins, and it's time to keep them looking fab!
First, gently wash them in soapy water to zap away dirt and germs.
Then, dry 'em off and give them a good coat of wax or vegetable oil for a shiny finish.
Store them in a cool, dry place, away from sunlight.
Just remember, they're not like avocados—don't leave them out too long or they'll turn mushy!
What Tools Do I Need for a Successful Pumpkin Patch?
To create a successful pumpkin patch, you'll need a few essential tools!
Grab a spade for digging, a hoe for weeding, and a rake for leveling the soil.
Don't forget a watering can or hose to keep those pumpkins hydrated.
A garden fork helps aerate the soil, while gloves protect your hands.
And, if you're feeling fancy, a garden planner app can keep your pumpkin dreams organized.
Happy planting, and may your patch be fruitful!
Conclusion
Creating a backyard pumpkin patch could start a cherished family tradition. Picture the aroma of pumpkin pie filling your kitchen as kids enjoy their carved creations.
With a bit of effort, you'll cultivate not just pumpkins but also lasting memories. Grab your trowel and let the enchantment of fall flourish in your garden—who knows, you may spot a pumpkin that resembles your neighbor's dog!